Tuesday, December 24, 2013

On the First Day of Christmas

Christmas Craft Countdown- 1 day


Yay!  We are finally here!  Only one more day until Christmas!  Today, I have my final Christmas craft to show you.  They are super cute holiday birds.  Again, these make adorable presents and look lovely hanging up in your home for the Christmas season!  I found these images on Pinterest and used them as my inspiration.  Enjoy!


Supplies:


  • Canvas (8 x10 or larger)
  • Green, red, brown and silver acrylic paint
  • Green, red, brown, silver, gold and black sharpie markers
  • Red puffy paint
  • Rhinestones
  • Red and green glitter
  • Pencil
  • Mod-podge (or watered down Elmer's glue)
  • Paintbrush

The Christmas Owl

First I'll show you how to make this adorable Christmas Owl!  I was inspired by this image I found on Pinterest and decided to mix and match to create my own owl.
Christmas Owls cute clipart set comes with 10 christmas clipart graphics including 5 original christmas owls, a christmas tree, a christmas wreath, a branch and two snowlfakes  Graphics are made in High Quality 300 dpi and come in JPG, PNG & EPS format

First, I sketched the owl out with my pencil. (You could always print out the image and trace.)


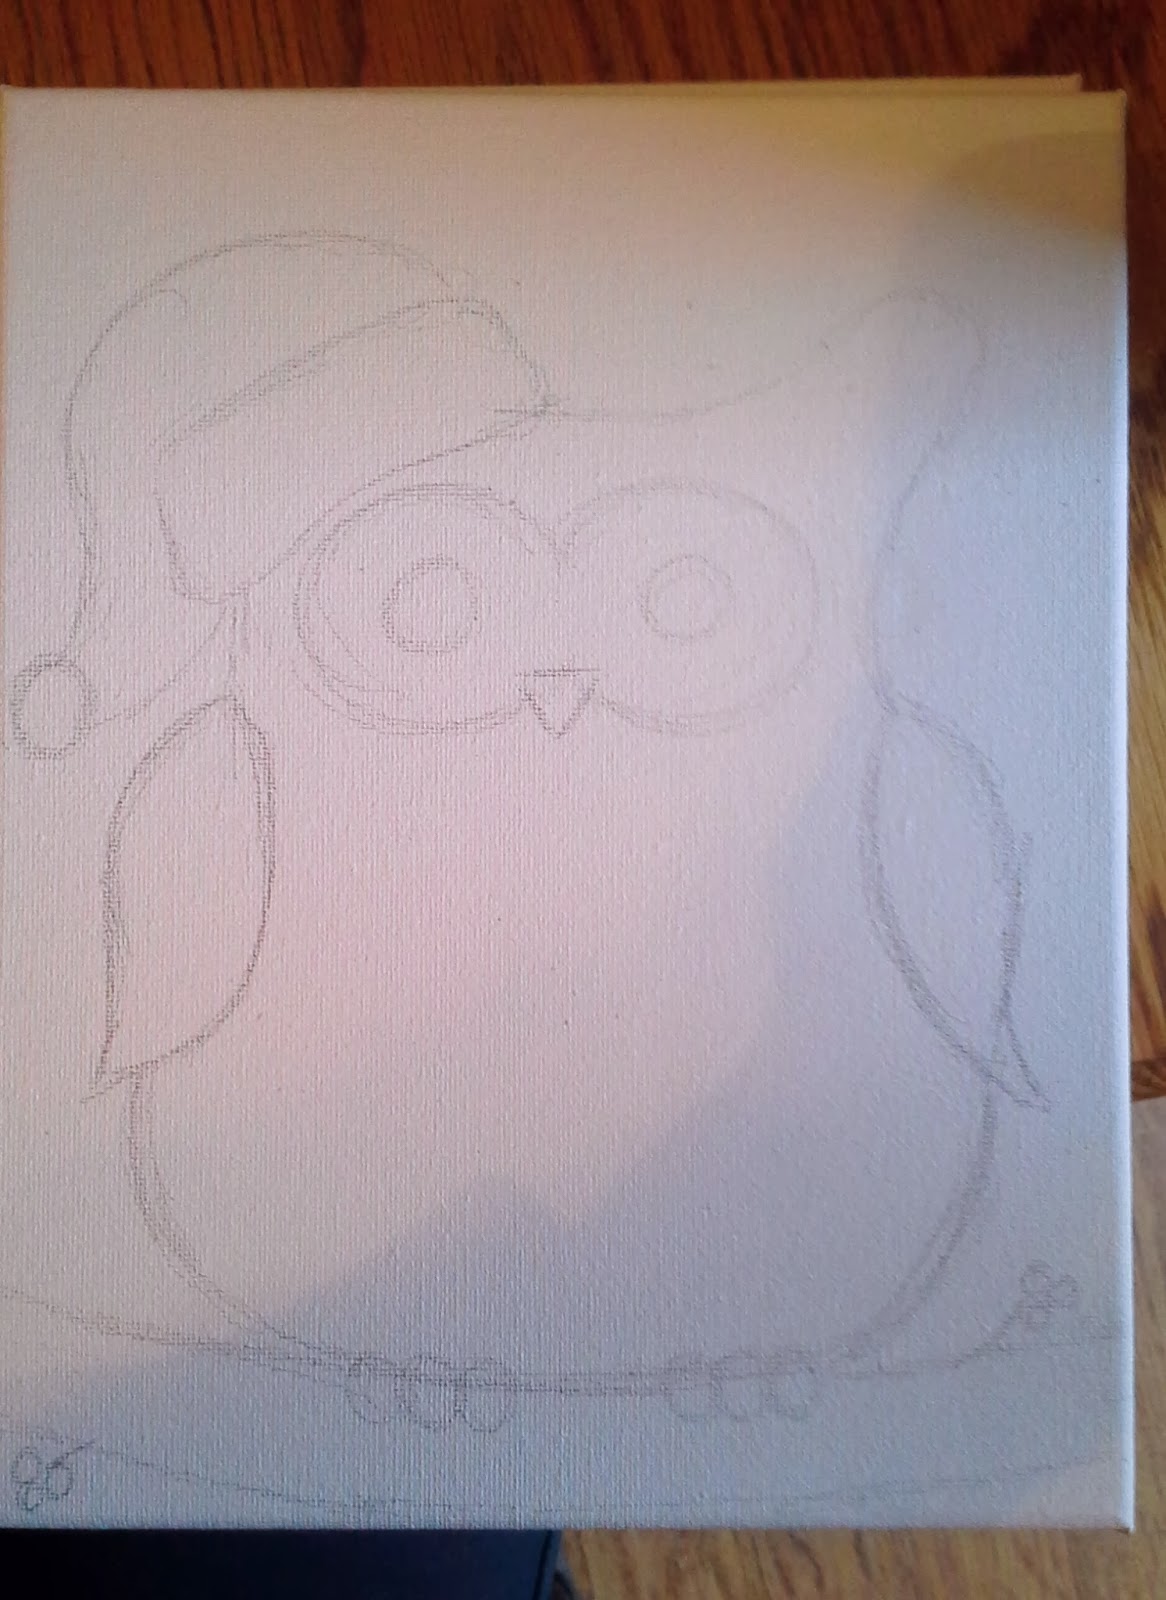
Then, I traced over the pencil with colored sharpies that corresponded with the color I would be painting that section.


Next, I painted Mod-podge on the owl's hat and the wings and sprinkled the red glitter on them.  


Once it was dry, I went over the glitter with a coat of Mod-podge to seal it in so it does not fall.


While the Mod-podge on the hat and wings dried, I used a dime to trace several circles onto the body.


Then I traced the dots with my green sharpie.


Next, I painted the body with green acrylic paint.  After it was completely dried, I put Mod-podge on the dots and sprinkled green glitter on them.


I painted the fluffy part of the hat in a light silver acrylic paint.  I figured it would stand out better against the white background of the canvas.  Then, I glued down the rhinestones for some added dimension and sparkle!


I colored his beak and his feet with my gold sharpie, and colored in the branch with my brown sharpie.  If you don't have colored sharpies, you could always just use acrylic paint for this part, too.


Here is the finished Christmas Owl:


Isn't he adorable?  If you want to give this as a gift, simply add a cute ribbon around the canvas!


The Christmas Bird

Now, how to make the Christmas Bird! I was inspired by this photo on Pinterest to create my own variation of a Christmas bird:

Christmas Chatter Birds Cute Digital Clipart for Card Design, Scrapbooking, and Web Design, Christmas Clipart

First, you want to sketch or trace your bird onto the canvas.


Trace over the pencil lines with green and red sharpie markers.


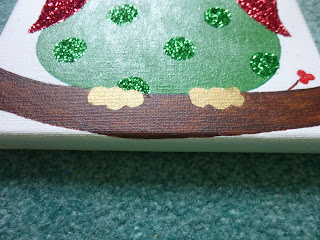
Using acrylic paint, paint the hat and wing red, the fluffy part of the hat a light silver, the body and leaves green, the beak gold, and the branch brown.


Allow this to completely dry before moving on.


Using red puffy paint, trace over the words "Merry Christmas" or whatever holiday saying you choose to write.


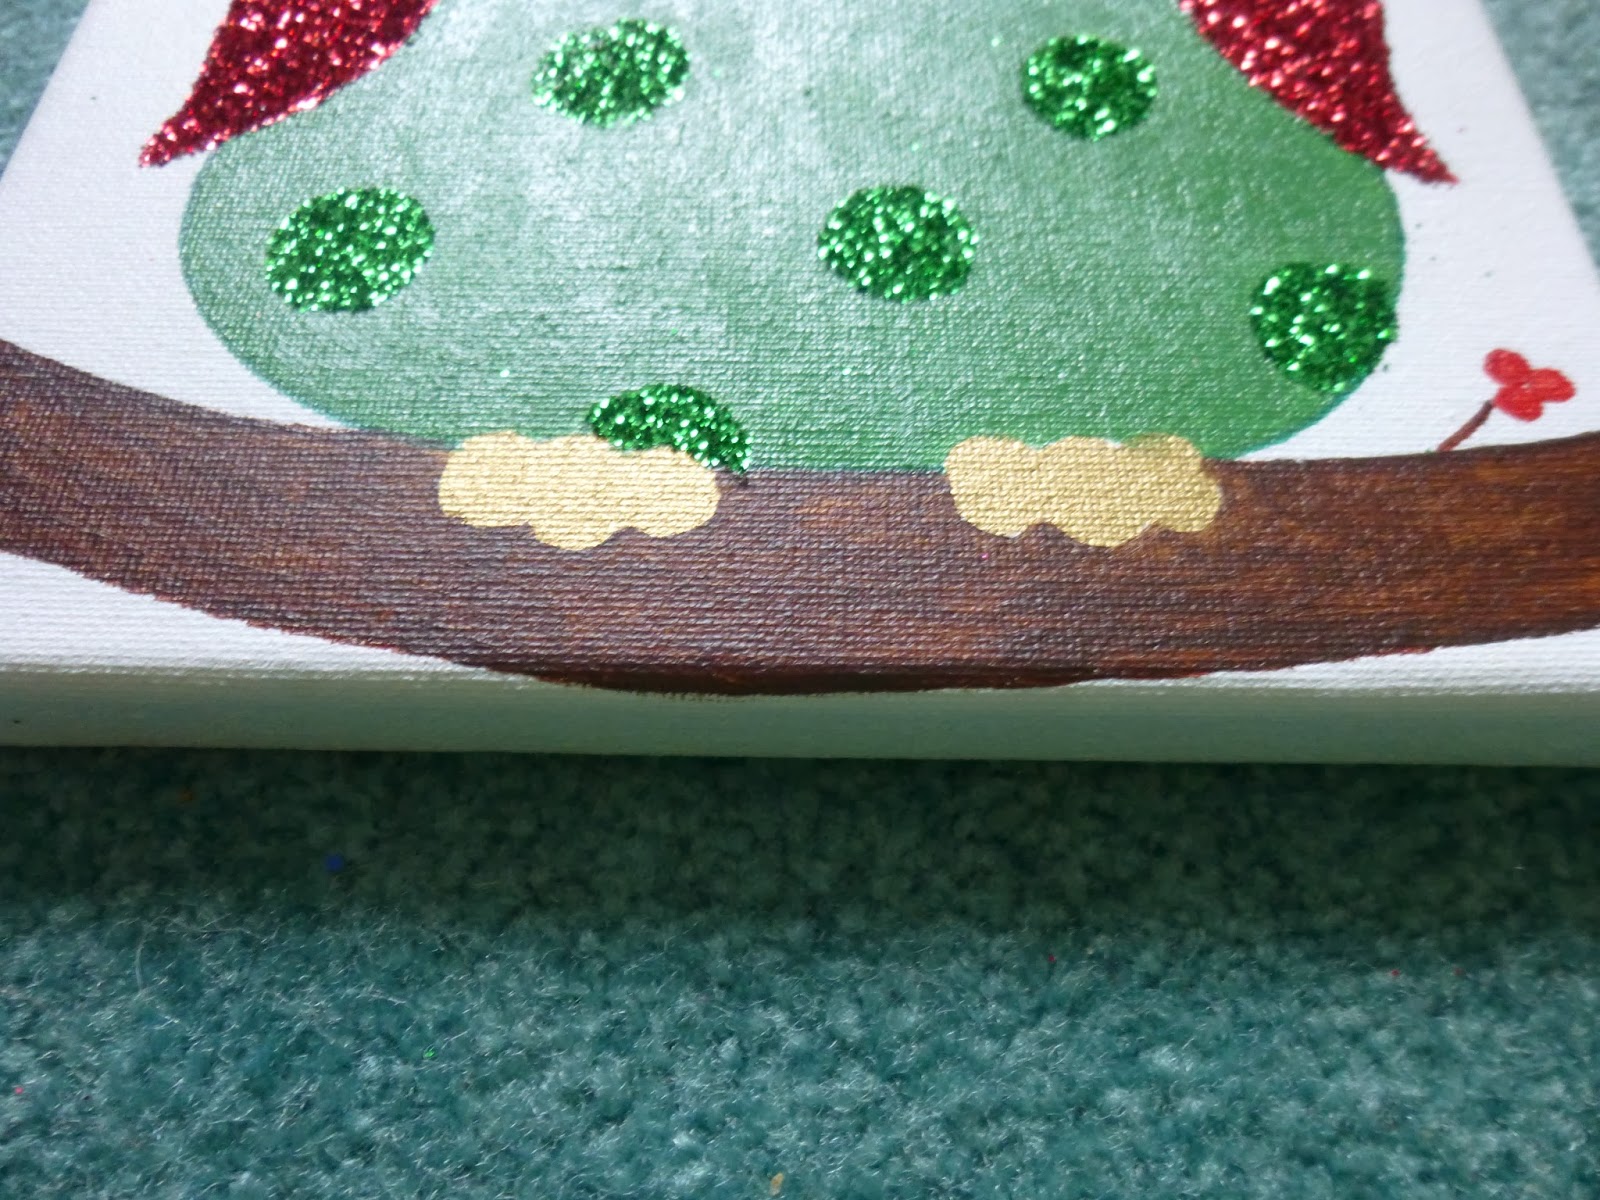
Then using Mod-podge, paint a thin layer of the glue onto the hat and wing.  Sprinkle red glitter over top.

While the glue dries, take your green puffy paint and add dots for texture on the bird's body.


You can also use red puffy paint to make the berries 3D.


Then, you want to put another layer of Mod-podge over top of the glitter to seal it in and prevent it from falling off.


And there you have it! An adorable Christmas Bird!


I wish everyone a Merry Christmas and a healthy Happy New Year!

Stay tuned for more crafts in 2014!  Feel free to comment with suggestions, too.


Artistically Yours,
Brianna


Monday, December 23, 2013

On the Second Day of Christmas

Christmas Craft Countdown- 2 days


For today's countdown to Christmas, I will be showing you how to paint some cute reindeer onto canvas.  I found this craft on Pinterest, then decided to create my own two versions.  They look super cute as holiday decor in your home or to give as a gift to friends and family! I hope you like them!


Supplies you will need:
  • Canvas in the size you prefer (I used 8 x 10)
  • Silver, Red, Green and Black Sharpie Markers
  • Puffy paint in silver, red and gold
  • Gold and Silver Glitter
  • Modpodge (or a watered down Elmer's glue will work)
  • Paint brush
  • Pencil

Silver Reindeer


First, I'll show you how to create the silver reindeer pictured on the left.

Google search "reindeer silhouette clipart" and you will get hundreds of different deer to choose from.  Then sketch out your silhouette onto your canvas.  If you are not a confident artist, don't fret, you could always print out the deer and trace it onto the canvas!


Then trace your pencil lines with a silver sharpie (or whatever color you choose to color the silhouette.) And write your "Merry Christmas" greeting at the bottom with a red sharpie.


Using a paintbrush and Modpodge (or a watered down Elmers glue) paint the glue onto the deer and sprinkle your glitter on top.  The paintbrush will give you more control, especially as you put glue onto the antlers!


I wanted to add some dimension to my canvas, so I traced around the border with silver puffy paint and traced the words with red puffy paint.


Once it has completely dried, add another coat of Modpodge on top of the glitter.  This will seal in the glitter to prevent it from falling off everytime you move or touch the canvas.  It also adds a shiny finish!


Ta-dah!  Your reindeer silhouette is complete!  Experiment with different silhouettes, different colors of glitter and different sized canvas boards!  These make beautiful gifts and decor for your home. 

Gold Reindeer

Now, here is how I made the gold reindeer pictured on the right.

Again, I looked up "reindeer silhouette clipart" using Google to find the one I wanted to use.  I sketched it out with pencil first (of course you may print it out and trace it if you don't want to freehand it.)


Then trace your lines with a gold sharpie marker.  (I used black, and found it hard to cover up with the glitter, so I suggest matching the marker color to the glitter color.)


Paint the Modpodge onto the silhouette and sprinkle on your gold glitter!


For a special touch, I made my reindeer Rudolph and gave him a red nose (but this is optional!)


Paint the Modpodge over the glitter to seal it in and prevent it from falling off.


For added dimension, I traced around the border with gold puffy paint.


 (wet paint)

(dry paint)

And you are finished!  Just add a cute ribbon to gift to your friend!


I really hope you enjoyed these as much as I did!  Don't forget to check back tomorrow as I post the final Christmas Craft Countdown!

Artistically Yours,
Brianna


On the Third Day of Christmas

Christmas Craft Countdown- 3 days

Hello everyone! Only three more days until Christmas!!  And I have a special craft for you today!!  Today, I will be showing you my top 5 favorite ornaments to make.  (Of course my very favorite are the minions, but I already put them in a blog so they will not be featured in this one.)  


If you read my first blog for my Christmas Craft Countdown, you'd know that I originally planned on writing a post on each individual ornament for the 12 Days of Christmas.  But due to computer issues, I did not have a computer for 2 weeks and missed my chance!  So this post will feature 5 of those 12 ornaments that I would have posted for you!  Enjoy!

My Top 5 Christmas Ornaments:

#5- Pearls

This one was super easy to make!  Just get a bunch of plastic pearl beads from your local craft store.  I suggest using the plastic beads over the glass beads because they are lighter.  If you use heavier beads the ball gets too heavy and the top of the ornament will pop off.  

You can get whatever colors and sizes you like to put inside the ornament.


I chose to use white and ivory in a variety of sizes to place inside of my ornament.


Then, I finished it off with an adorable ribbon!  You could also use puffy paint or stickers to put a monogram, a name, or a quote onto the outside of the ornament! 


#4- Jingle Bells

One of my favorite Christmas song is "Jingle Bells" so I decided to create an ornament inspired by the song.  All you need are some tiny bells, ribbon and a gold marker!


Place your tiny bells into your glass ornament. 


Add a cute ribbon to the top.


Using a gold sharpie, write the quote "Jingle All the Way" or any other line you like from the song.  I recommend using a sharpie gold PAINT marker for this.  I used just the regular gold marker and I found it to be less pigmented.  The paint marker would show up better on the clear ornament. 


And you are finished!!


#3- School Spirit

This ornament is super fun!  If you love to share some school spirit then this is the ornament for you!  Or you could use your favorite sports team for this, too.

First, you will need puffy paint in your school/teams colors.  I go to Misericordia University and our colors are blue and gold.


Then, you want to paint your school's logo onto the bulb.  Luckily, we are the Cougars, so it was easy to paint a paw print.  But you can put on whatever logo you want to go with your school or favorite team. 


You then want to curl ribbon in your school/team's colors.  Add the ribbon and sequins to the inside of your ornament. 


Finish it off with a ribbon at the top and you're finished!


#2- Rhinestones

This is one of my favorites!!  And you only need three things: hot glue, rhinestones and ribbon!


Start by putting a line of hot glue on the ornament and begin placing the rhinestones.  If it is easier for you, use tweezers to help you place them onto the glue to avoid burning yourself!


Continue until the entire ornament is covered.


Add a ribbon to the top and it's done!  This ornament really sparkles as it reflects all of the lights on the tree.  Like a mini disco ball!


#1- Santa Claus

And last, but not least... SANTA CLAUS!  This one is another super cute and easy one to do.  All you need is ribbon and puffy paint!

First curl red ribbon, like we did in the school spirit ornament, and place the curls into the ornament. 

 
Then, use either black acrylic paint or puffy paint for the belt all the way around the ornament. 


Finish it off with a gold buckle and a ribbon!


I hope you enjoyed these super cute and easy ornaments!  Give them out as gifts or put them on your own tree!  

Artistically Yours,
Brianna